Saturday, March 4, 2023

Ice Maker

 When we went to CO this year to vacation we used the countertop ice maker that Jason has and really liked the nugget ice that came out.  So we decided to get one and I wanted it to have a more permanent installation and with less maintenance for me!

We used it on the counter for awhile then moved it into the pantry where I was able to hook it up to a water line.  That worked great, but I also wanted to be able to clean it without having to move it around, so I attached the drain lines to some valves and ran them into the basement.

We have been using it about a month like this and I finally got around to cleaning it.  Manual recommends once a week cleaning, but it seemed OK.  So we will see.


Monday, December 26, 2022

Washer Boot Replace


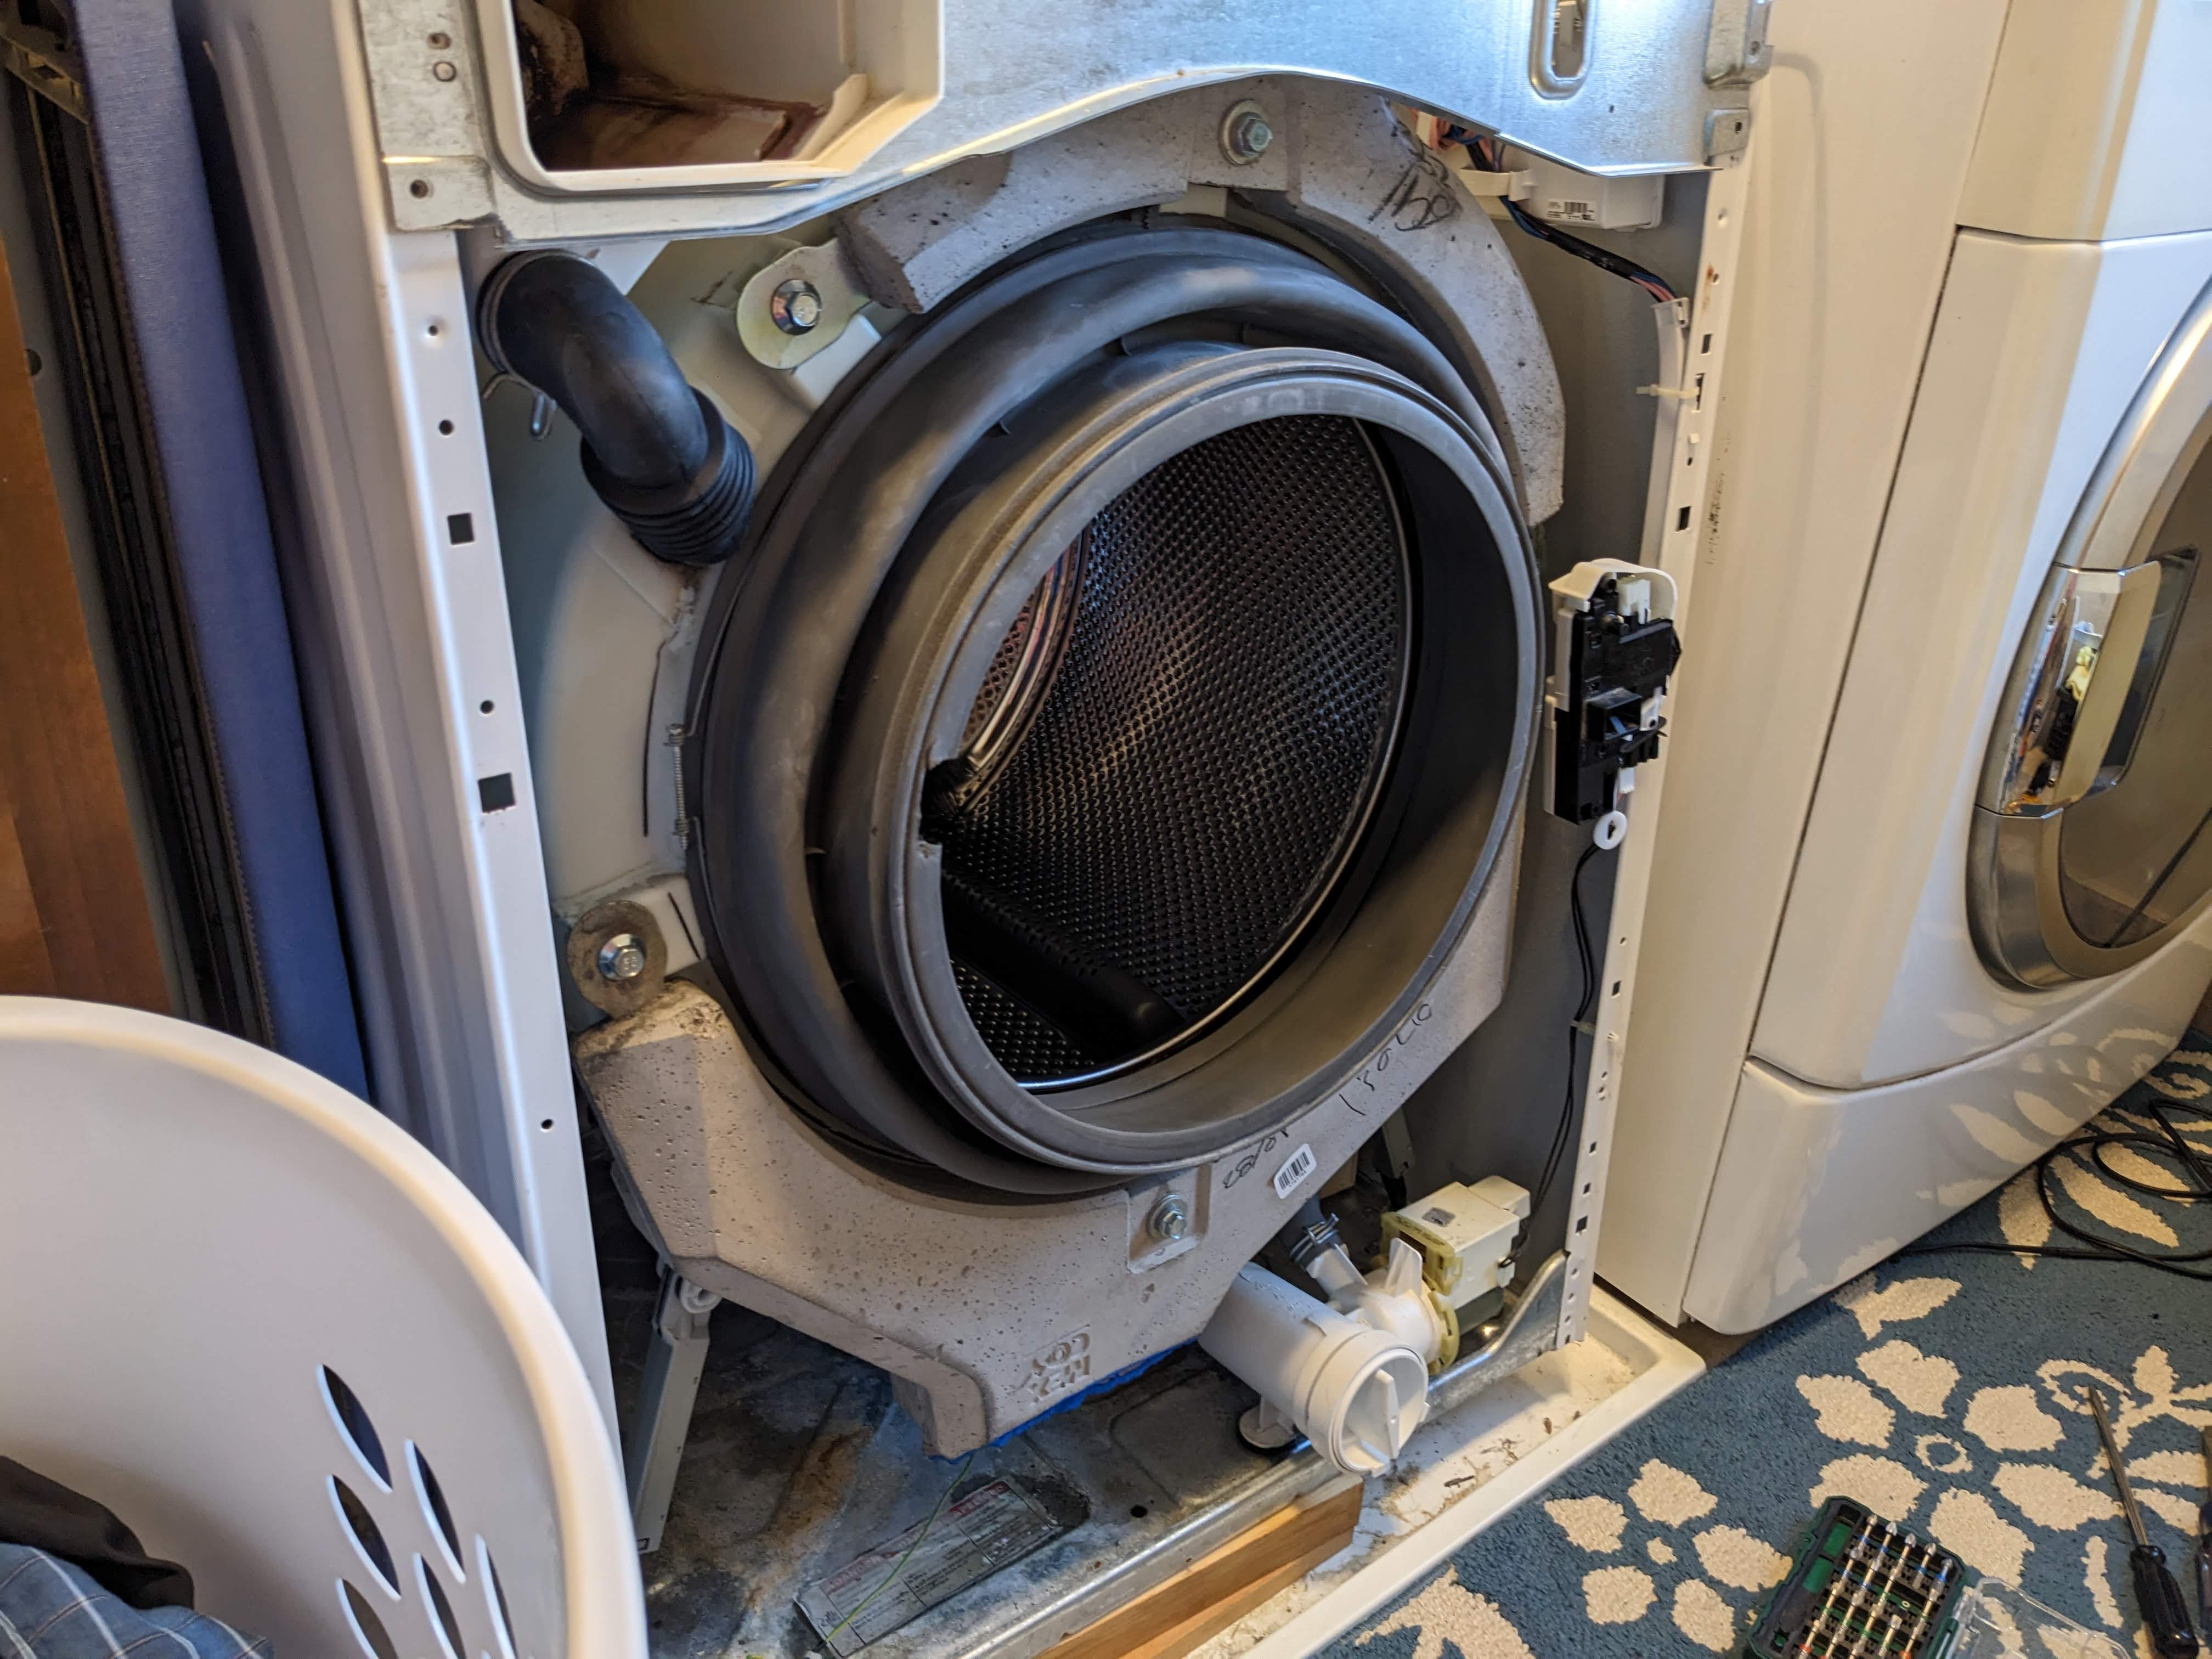
Our old washing boot was pretty gross and was ripped a bit on the side, so water would come out when Jen would do a cleaning cycle.  The hardest part is getting the steel ring back on the outer part after it is all back together.

This is the second time I have replaced the boot in 13 years, so we get about 7 years out of one.  It isn't easy to find one for this washer anymore, I ended up paying $80 for it.  It was $80 3.5 years ago when I did it last time.  Not sure why that one didn't last as long...

Then I cleaned out the filter at the bottom and it was GROSS!  It always is.  If you haven't cleaned yours in a while it is worth looking at!

Garage Heater part duex


I built a thermostat to control the heater.  I have a little server running on NAS that it uploads temp/humidity data to and will update the setpoint when it sends data (once a minute).  I don't have it running all the time, only when we are out there and need it.  It was a fun little project.

I will eventually get around to adding graphs, but for now it will cycle the heater on and off as needed to maintain setpoint.


Sunday, November 13, 2022

Garage Heater

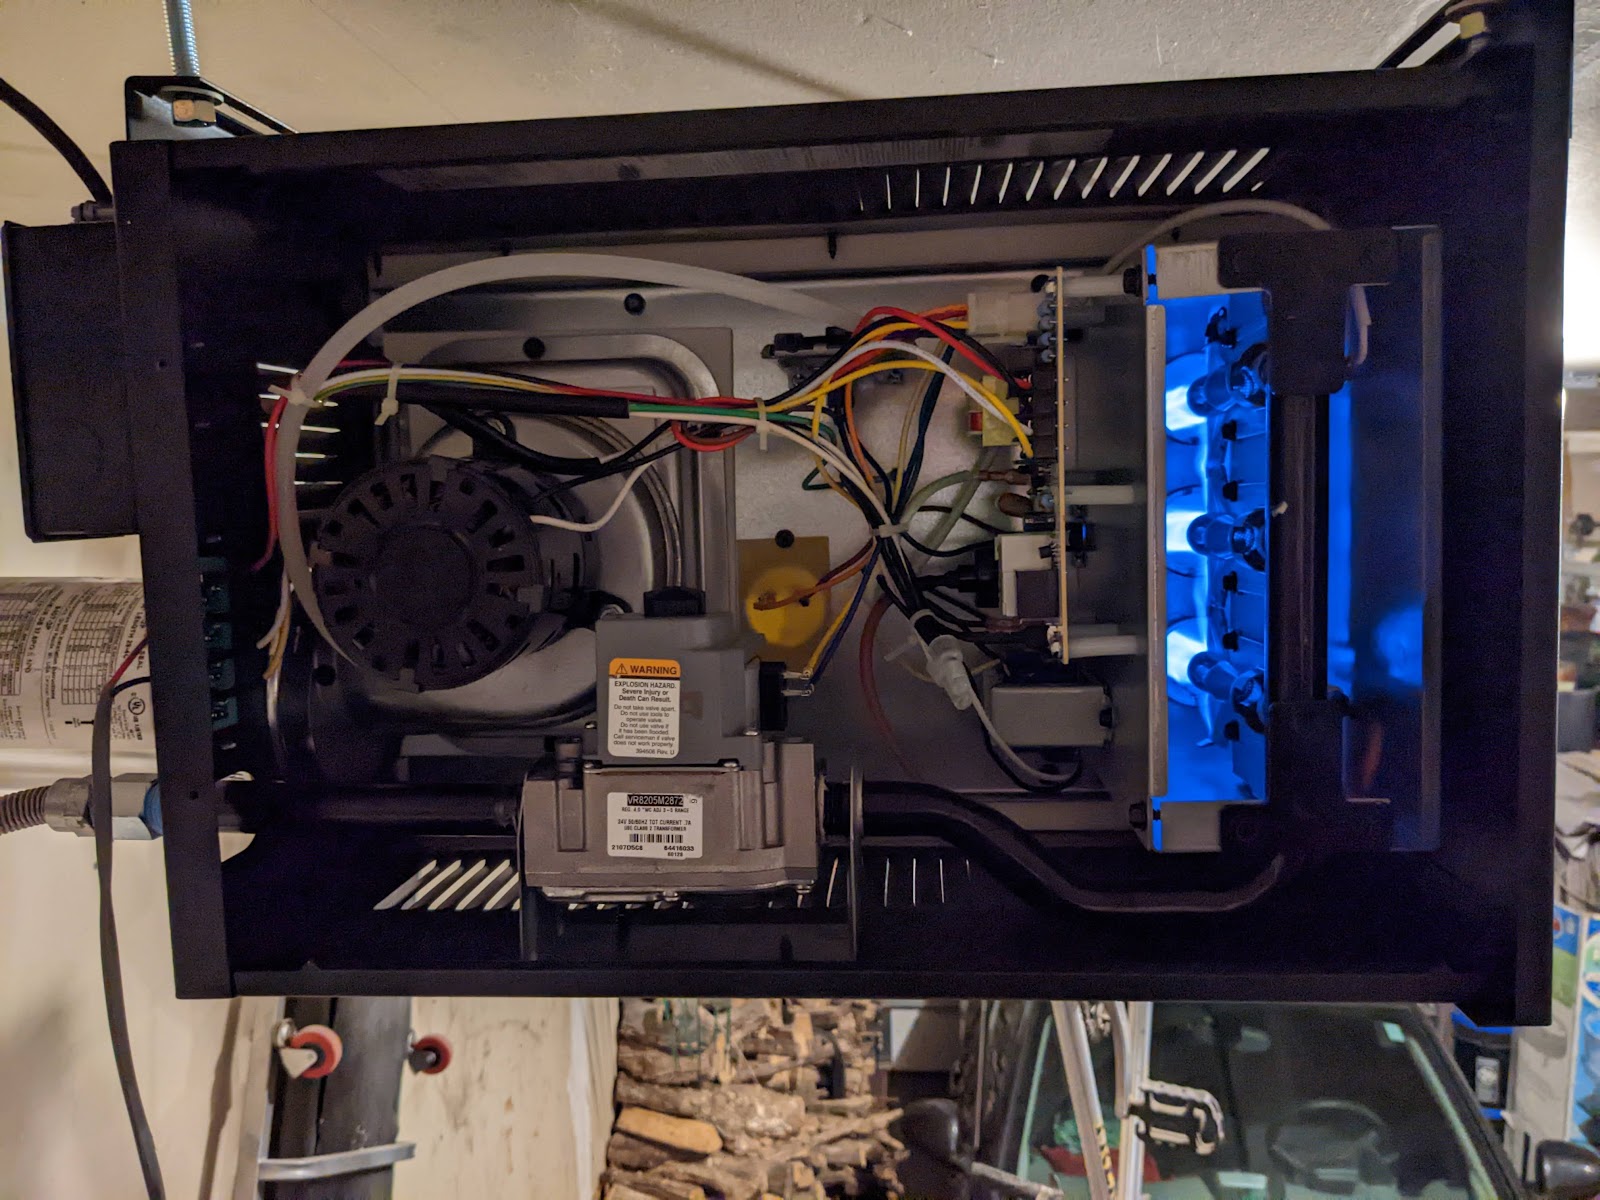
 I installed a garage heater this weekend.  I have had it for about a year and finally got around to installing it.  I think it will be pretty nice to heat up the garage to work out there.  We aren't going to heat it all the time, that would be pretty wasteful, just when we are out there.

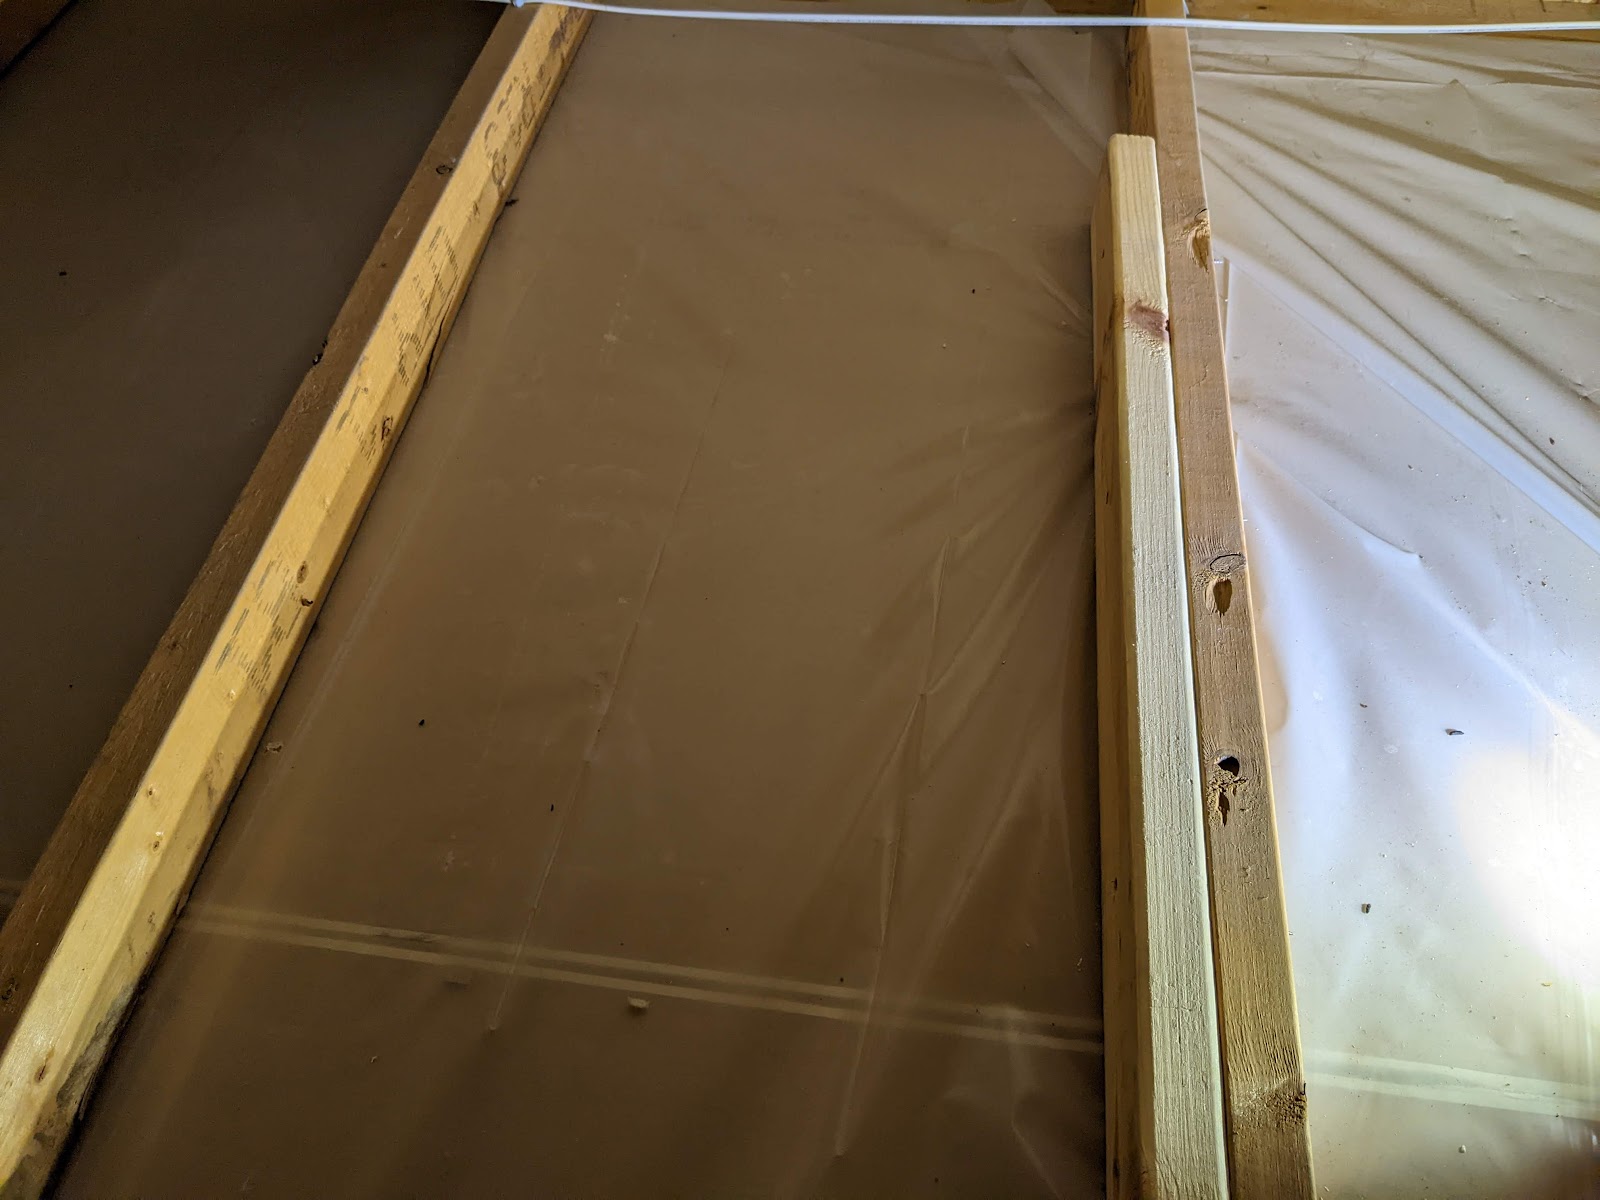
The first issue I ran into was that the heater is a little more narrow then the 24 inch rafters in the ceiling.  so I just screwed a 2x4 into it and screwed into that.


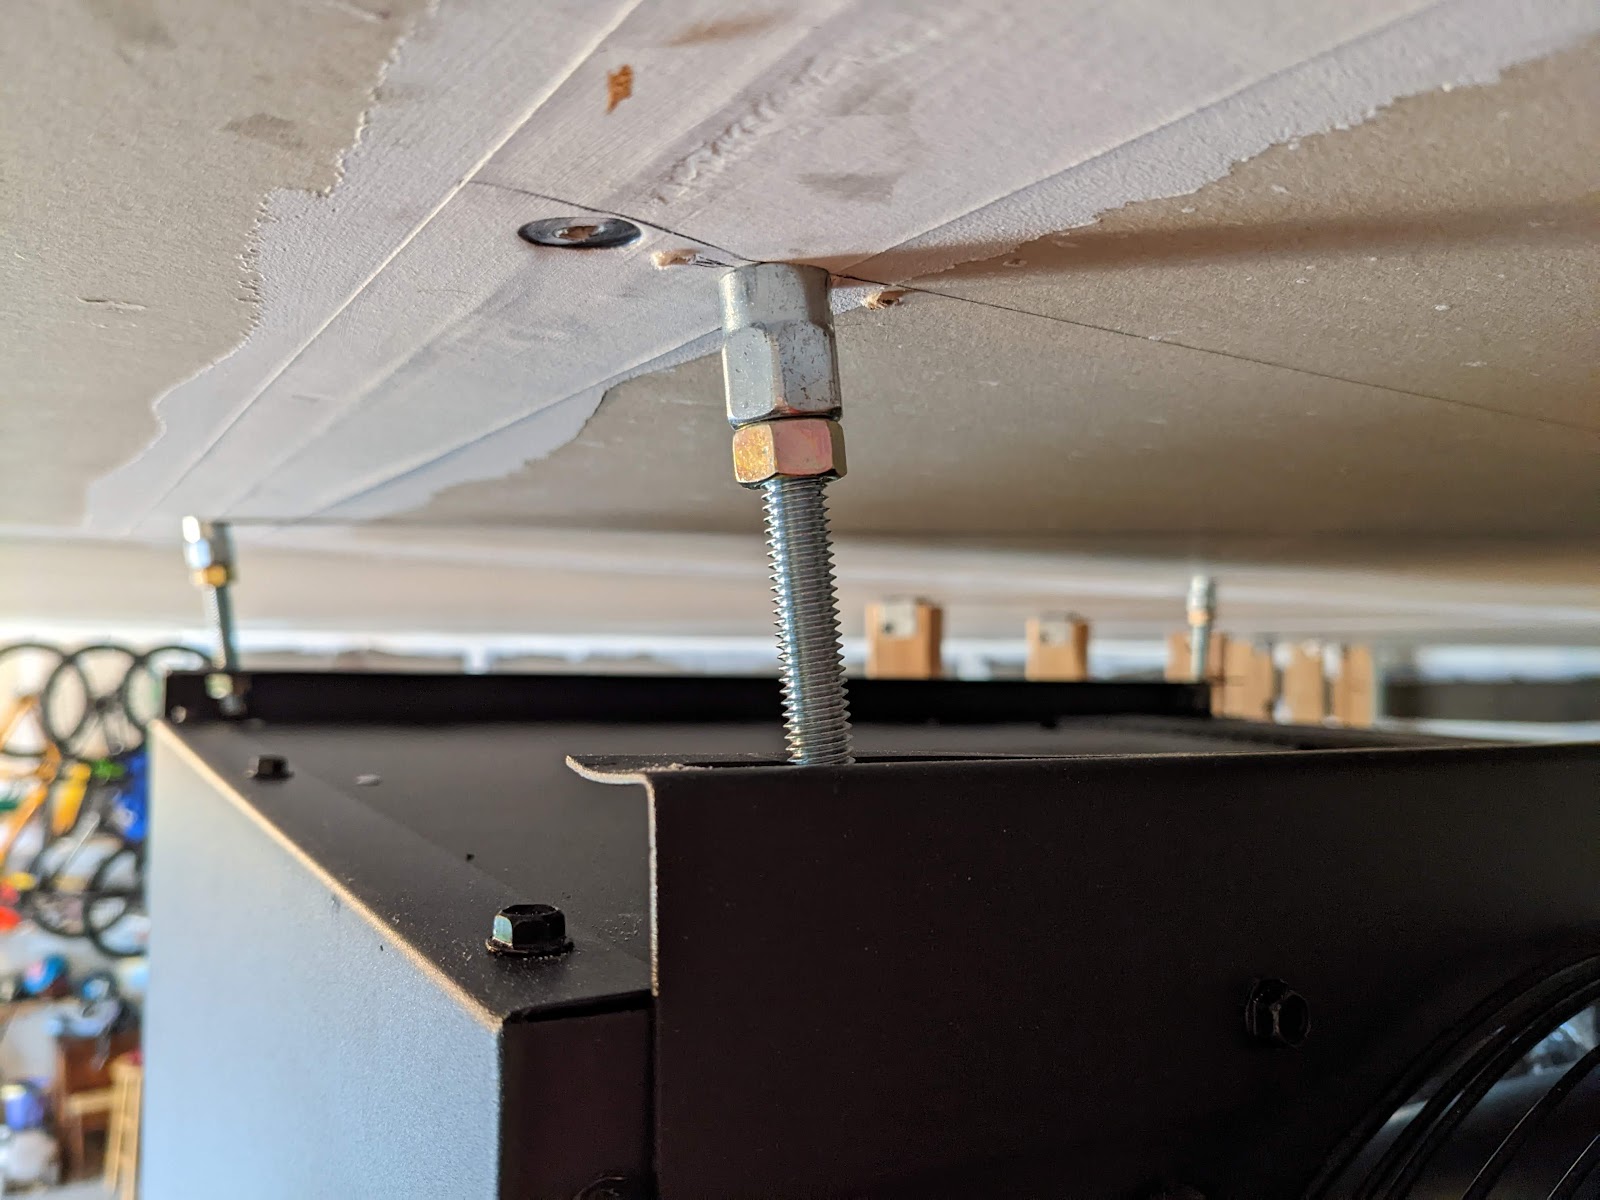
I used these thread hanging screws that worked OK, probably should have just used angle iron like everyone else does.  Trying to muscle the heater onto the posts was a challenge.  I wish I would have had a drywall lift.  You can see the rods were able to move around a bit which allowed it to work.  The fit was quite tight.


It feels very secure and doesn't move around at all, so I am pretty confident in the threaded rods.  Once it was up, I had to figure out where the exhaust would go.  I used a carpentry square to figure out where to make the hole in the wall.


Always the scariest part, putting a hole in an exterior wall.  I used a rotozip tool, which made quick work of making the hole in the drywall.  I used an ocsillating tool on the vinyl outside, since I had a block with j-channel built in.  Getting the siding off so I could slide the j-channel in was a challenge in the cool weather.

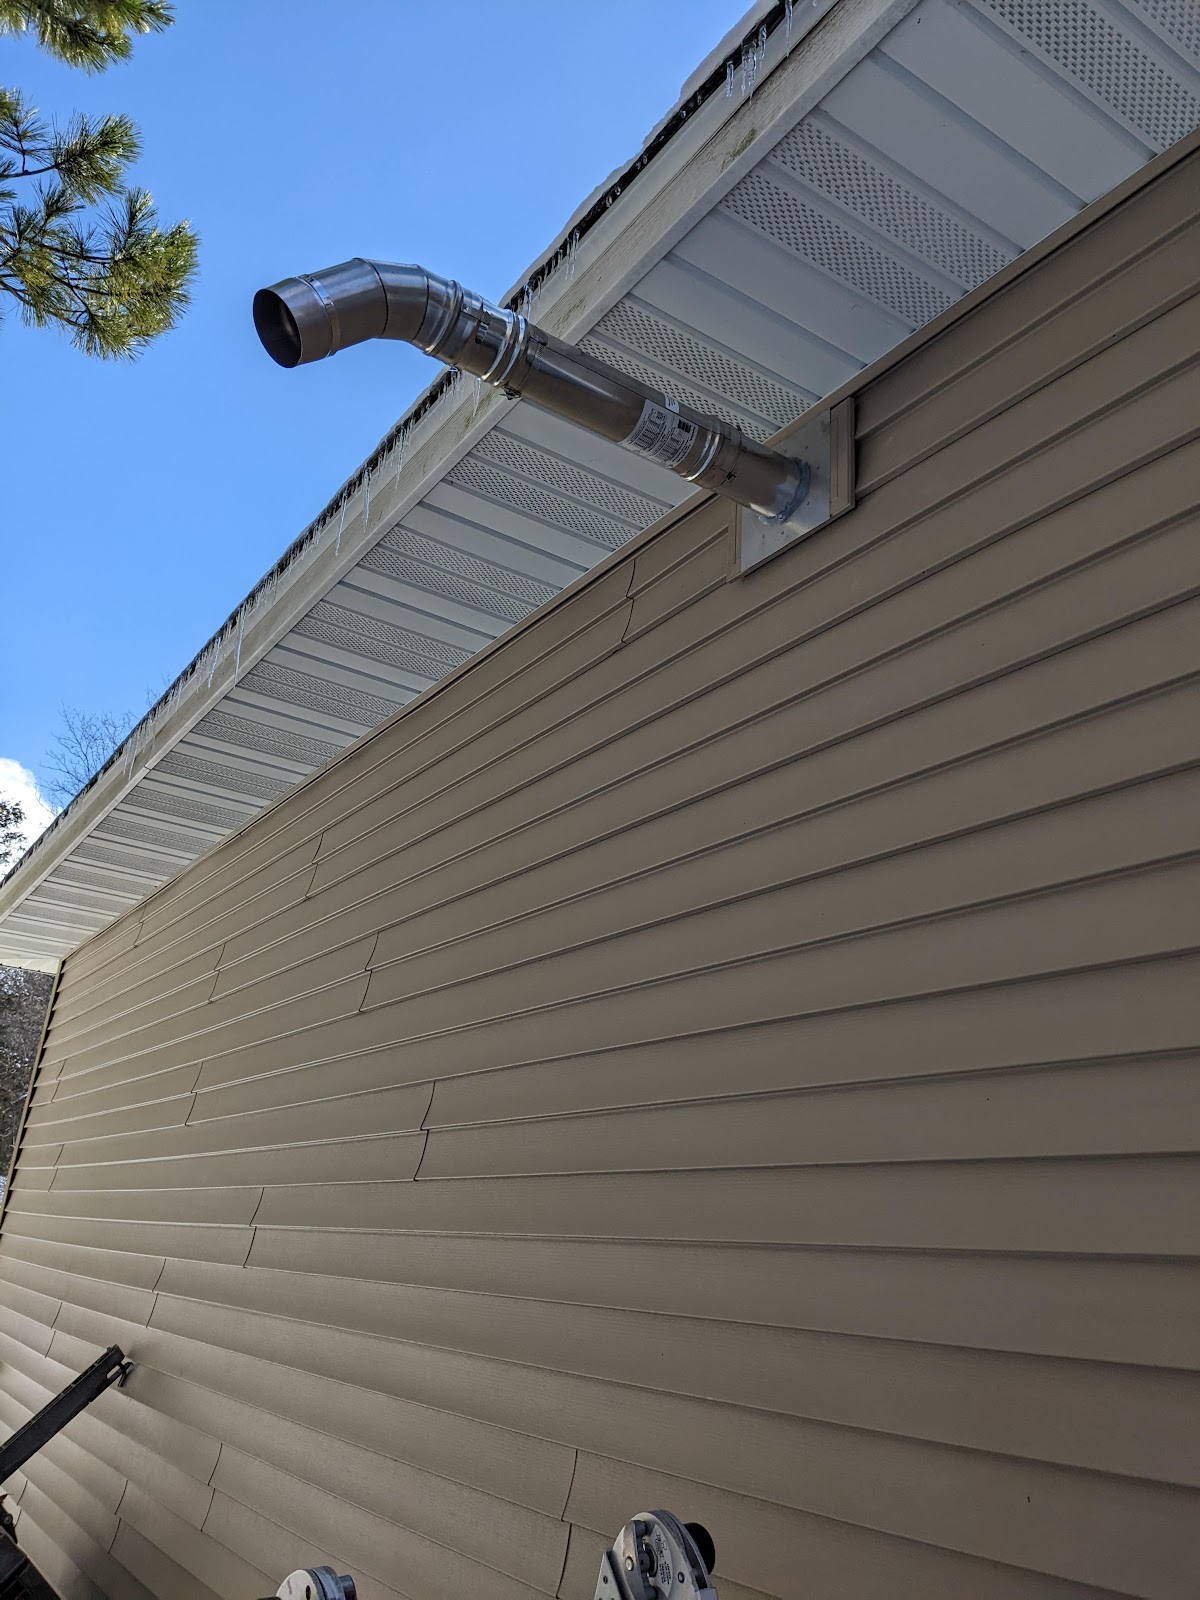
I originally just had the exhaust blowing out pretty close to the soffit.  But thought better of it and added another 19 inches of length, I don't think it will hurt anything there.  It is supposed to be 4 feet out, but that would be really far out!  Since we aren't running it all the time, I am OK with where it is at.


Here it is running.  I am working on making a thermostat, and I need to put in an outlet to plug it into.  I am also dealing with a small gas leak.  I had a bigger leak, but it turned out that I needed to use pipe dope instead of tape on the connector hose, they need to seat all the way into tube.  I think the new little leak is at the test port, I tested the pressure 7.8 inches into the value and 4 inches going into the manifold.


Monday, October 3, 2022

Vent for the basement bathroom

It was long overdue, but I finally installed a vent for the basement bathroom. It was inspired by Nick taking showers down there. Getting into the basement took a lot more work than I anticipated.


It was more than my hole saw would handle, so I had to do it in pieces.  But eventually I made it through. I caulked the back of the vent and attached it to this perfect piece of vinyl that I found at Menards.


Then I just attached some duct to both ends and now the fan vents outside instead of into my basement.  I think I am going to get a timer for the fan so you can just press a button when you start showering and it will run for a half hour or so.  Otherwise I could see it getting left on, or turned off too soon.

Sunday, October 2, 2022

The other half of the patio, finally!

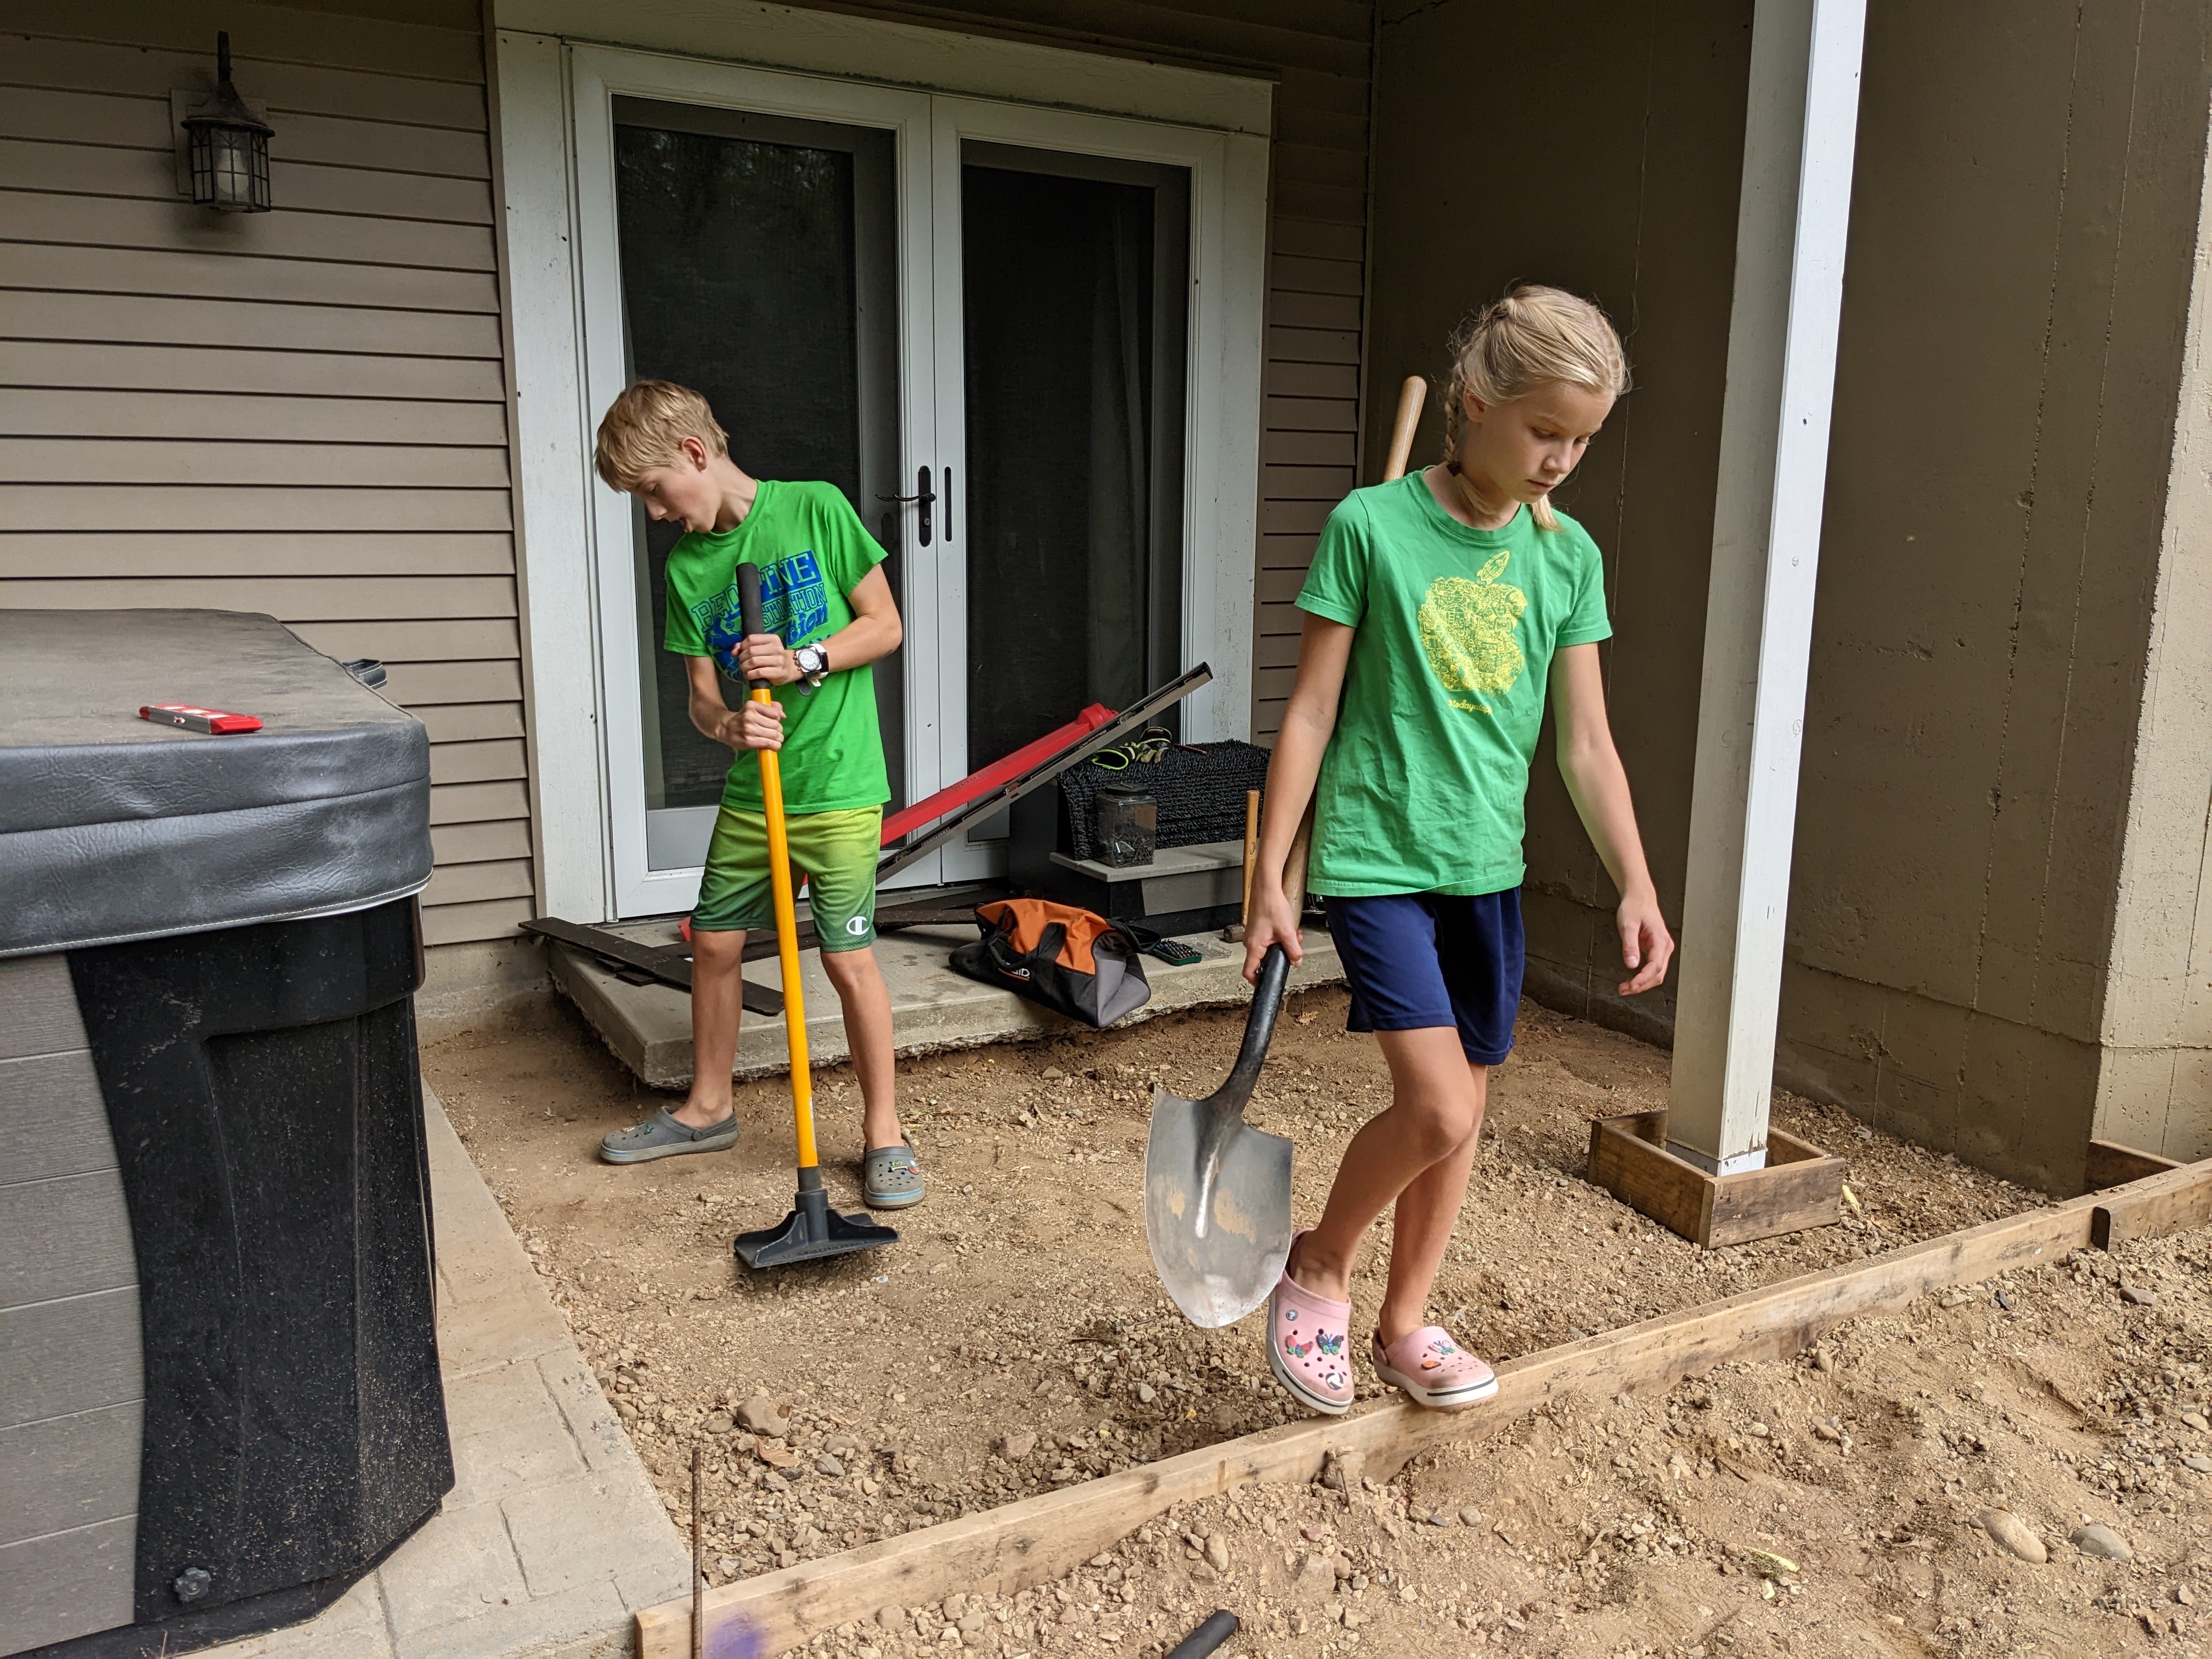
Finally got around to putting in the other half of the concrete patio off the basement doors.  I was putting it off because I wanted to replace the post and put in a standoff at the bottom.  However, the post is in perfect condition on this side and I figured I needed to get it done before the snow flies.  So I put the kids to work!

Maddie wanted to add a tablet under the concrete in case anyone every jackhammered it up!


It came out pretty well, there are a few more pebbles on top then I would like and I still haven't figured out how to get the hardener to show up and the release agent to go away.  But it matches the other side well.  I think I might seal the concrete now, I will have to see.

I wonder if there is something I can put around the hot tub to keep water away from the base.


Monday, September 26, 2022

Wiring up Ethernet for Nick

Nick has been after me for a while to run ethernet to his room, he is convinced it will be far superior to the wireless ethernet he is using now.  I haven't been in a big hurry, because I need to run a cable through the attic, and it is dusty up there.

However, Maddie started guitar lessons and that left Nick and me home for 2 hours and he wanted to do it, so we did.  He did most of the wiring in the panel and his room, I braved the attic though.

The amazing thing is that the wired connection is about 10x faster, when doing a speed test to our NAS.  The wireless speed is just as fast as the WAN connection about 100mbps, but with the wired connection it gets almost the full 1gbps that our network is capable of.

So, most of the time it won't make a difference, but when transferring files to the NAS it is a lot faster.  The location of the ethernet port in his room necessitated the purchase of a right angle ethernet cable, so we could push his dresser up against it.